The background image is the map that surveyors will use to plot all the locations. Often this is a floor plan but any image can be used to plot locations.
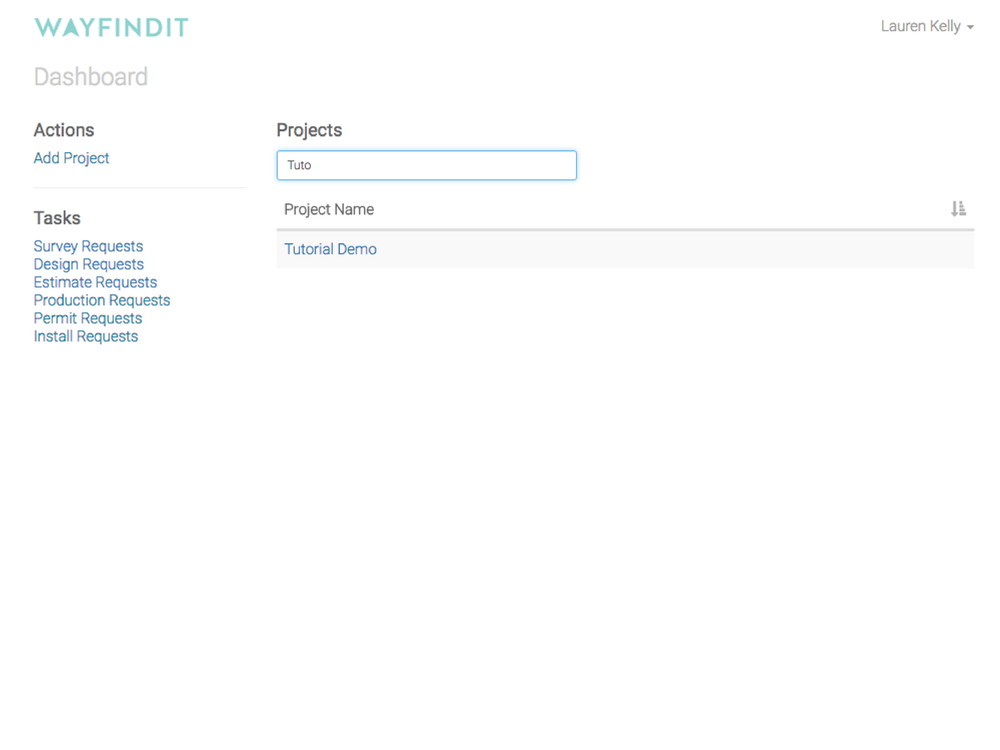
Step 1
Select your project from the dashboard.
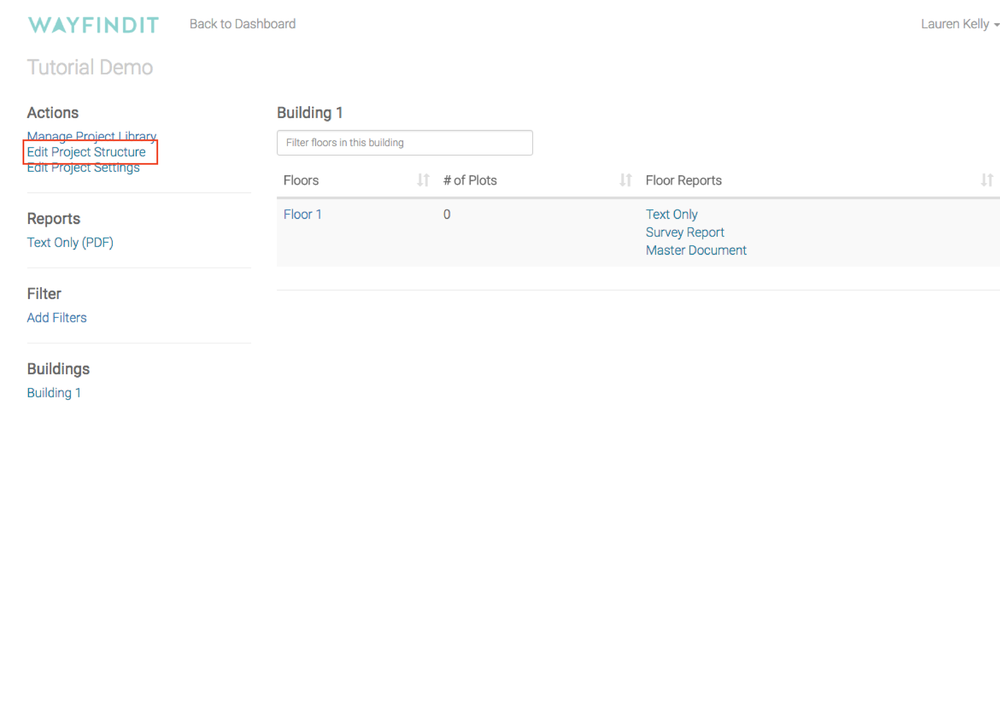
Step 2
Click "Edit Project Structure" in the left hand menu.
Step 3
Click the interwoven arrows to swap a Background Plan. Note: a default plan is automatically created so if it is a new plan you are adding you still swap from the default to your actual plan.

Step 4
Upload Background Plan by dragging and dropping your image onto the page. Note: all plans must be single page PDF, jpg, gif or png. PDF’s must be under 2MB and all other formats under 3MB.

Step 5
You are now ready to survey.
